Tuesday, June 23, 2015

Homemade gelatin

The gelatinous cube, a creature genetically adapted to graph paper, remains one of the most iconically ridiculous monsters in the D&D canon. It's simplicity, in addition to how expensive commercial miniature representations of it tend to be, invite all sorts of homebrew miniature solutions. EY's recent post on using plastic ice cubes as 1/72 gelatinous cubes prompted me to finally finish my own homebrew version of the geometric critter. Tada!


The core of this project is this thing:


It's an itty-bitty, 2"x2"x2" display case made for golf balls. I got a six pack of them from Amazon, but I bet you can get them individually at sporting goods stores for under $2.

The chief draw for these is that they slide apart,...


...because the fun of a mini for a clear monster whose main power is engulfing PCs is in actually putting hero minis inside.

I could have used these as is, but they are a little too platonically cubic. I wanted some sort of texture to show that it was made of organic goop of some kind. I considered substances like clear caulk, but instead I finally decided on Gloss Gel Medium, a finishing product for artists made by Liquitex that dries clear and with a textured surface. $6 after the requisite 40% off coupon at Hobby Lobby for a fair sized bottle, which I decided was cheap enough if I use it for other modeling projects. I could use it for other oozes, for example, and it seems like it would work for choppy water as well.

Separate the cube as shown above, then sand the surfaces you plan to treat so the Gloss sticks. Wash afterwards to remove plastic dust and allow to dry thoroughly. I painted both sides of the bottom face with several coats of black paint, then added the gel medium to the top face of the black surface (which is to say, the "floor" inside the cube).

I had glued the 2" fender washer to the base before sanding and washing, but I recommend doing so afterwards instead. The washer makes the cube much more stable.
I also added the Gloss to all the clear outside surfaces. Try not to get any medium on the bevelled edges, so the two parts slide apart as easily as possible. You may want to run a knife over these edges as well, so the fit isn't quite so snug.


A layer of Future shine or some other finish on the bottom is a good idea to keep it from scuffing. You could paint Future on the rest of the mini too, but it's not really necessary; the Gloss Medium is shiny and resilient enough on its own.

Large enough to comfortably accommodate one comparison viking!
One downside to this approach: Even after shaving the bevelled edges to make the fit a bit looser, it's still sort of tough to separate the two halves of the cube. I'm thinking of some sort of tab to make separation easier. Still, I think it looks pretty good, and it's pretty easy to make.

Since I still have five of these golf ball display cases, I can make more of these things. Would anyone be interested in getting one as a trade, or possibly some sort of future giveaway?

Saturday, June 20, 2015

Fences

Quick post of some scenery items I've painted recently. There are other scenery bits I've done lately as well, but I've got one more I want to finish before featuring the rest.

These are fences, from Imex's excellent Battlefield Accessories set. Only two of each fence type per set, but I lucked into getting three sets cheap on eBay, so I have six each. There are also "broken" versions of each type, but I haven't painted those. Pretty simple to paint: prime, base color, drybrush, wash.

Wooden split-rail fences. I see now the bases need some touching up! The fence pieces are pretty thin, which made painting just a little tricky, but not too bad overall.
Stone fences. The small washers make pretty good, solid bases, especially on these pieces. Some sort of metal strip might have been better, but this was a pretty cheap method.
Overhead view of the stone fences. There aren't enough pieces here for large wargaming scenery, but for small RPG-type scenes I believe I have more than enough.
Kris just did a post about making similar stone fences for 28mm; his technique may be adaptable to 1/72 scale. He's done a lot of great posts in the past year about cheap do-it-yourself scenery, often for 1/72, that are worth checking out; his scourpad trees in particular are on my bucket list.

More new soon!

Saturday, June 13, 2015

Fire and water

I finally got around to painting the Reaper fire elemental I messed around with last year. And since I now have the similar clear blue plastic water elemental from the newest Reaper Kickstarter, I painted it up as well.


I don't know why I put off painting the fire elemental, because painting was actually pretty easy. I started with a wash of yellow paint mixed with Future shine, then some drybrushing with red and a bit of dark red, then another coat of undiluted Future shine to seal and keep everything at a fire-like gleam.


The water elemental was a similar combination of washes, drybrushing, and a final "wet" coat of Future shine. The texture on the mini made this light work, giving the crests a nice foamy look.


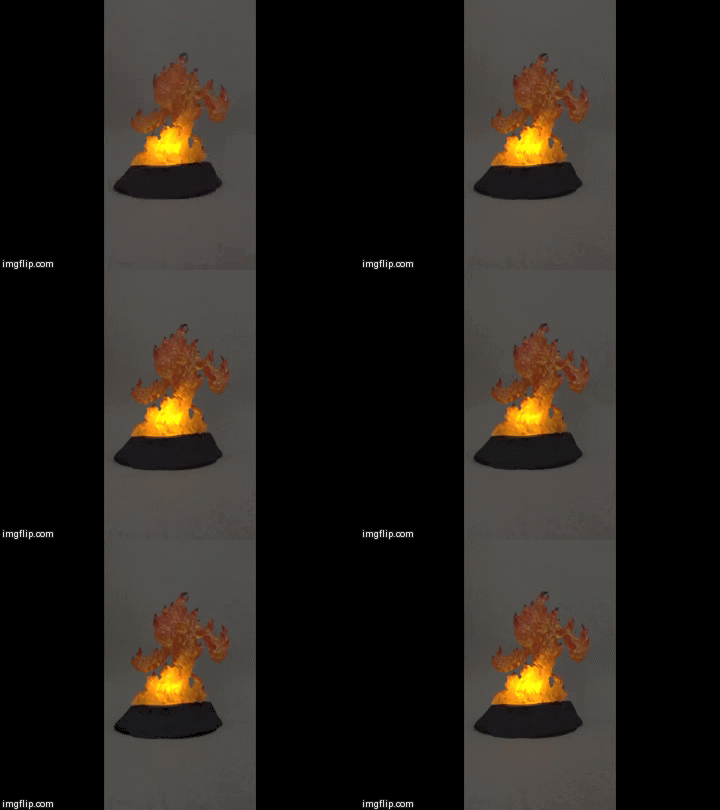
I discussed the light-up base I made for the fire elemental previously. Here it is in action. While I would have liked it if both halves of the figure lit up, it's still a nice effect.


I've had lots more time to paint lately than I have had all year, so there should be more posts coming very soon!